4” to 6” Lift Upgrade on 92’ Subaru Loyale by Anderson Design & Fabrication
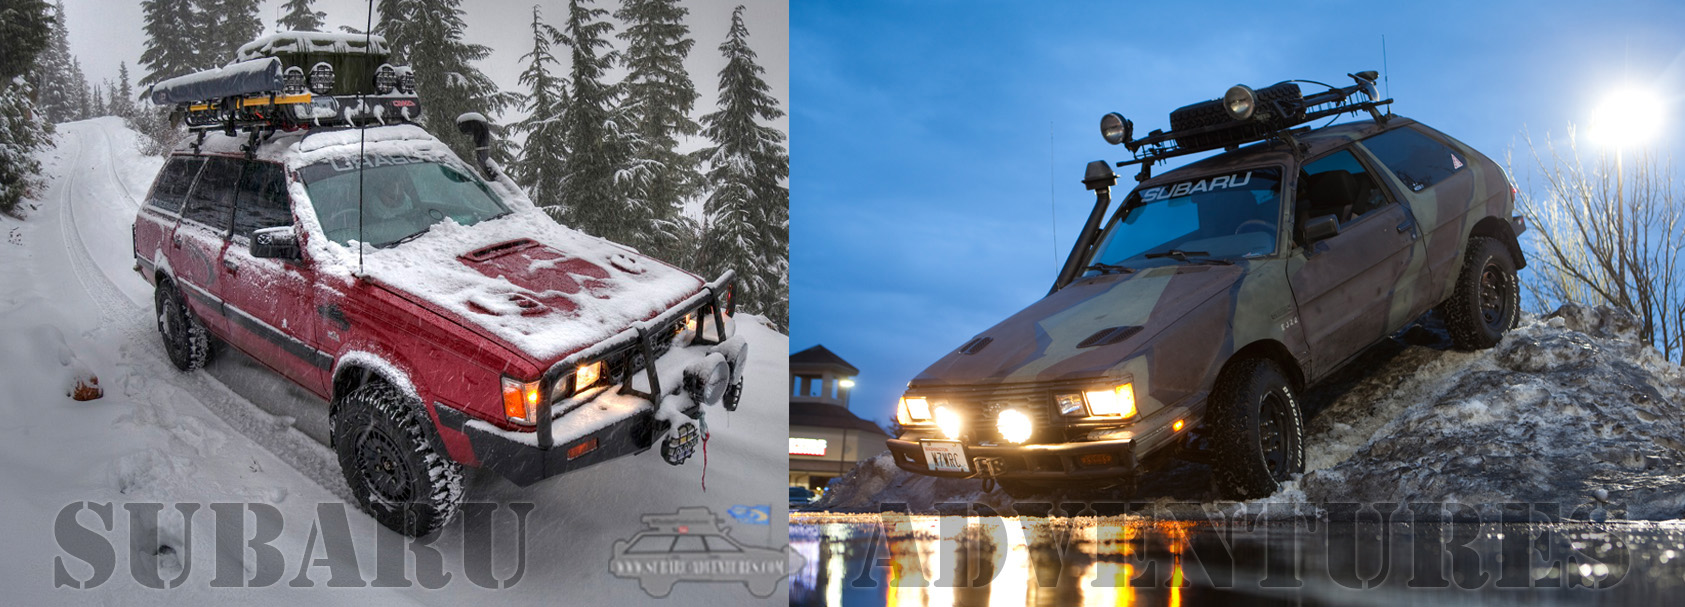
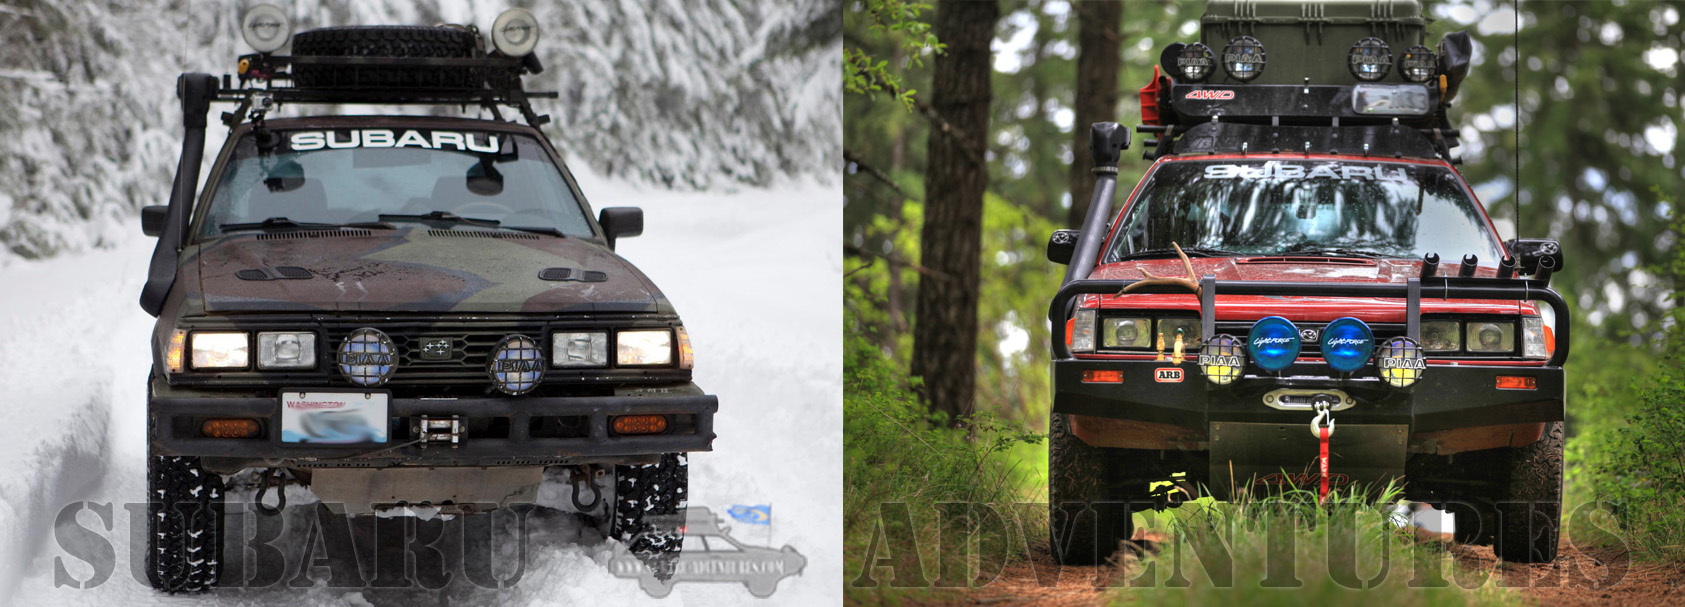
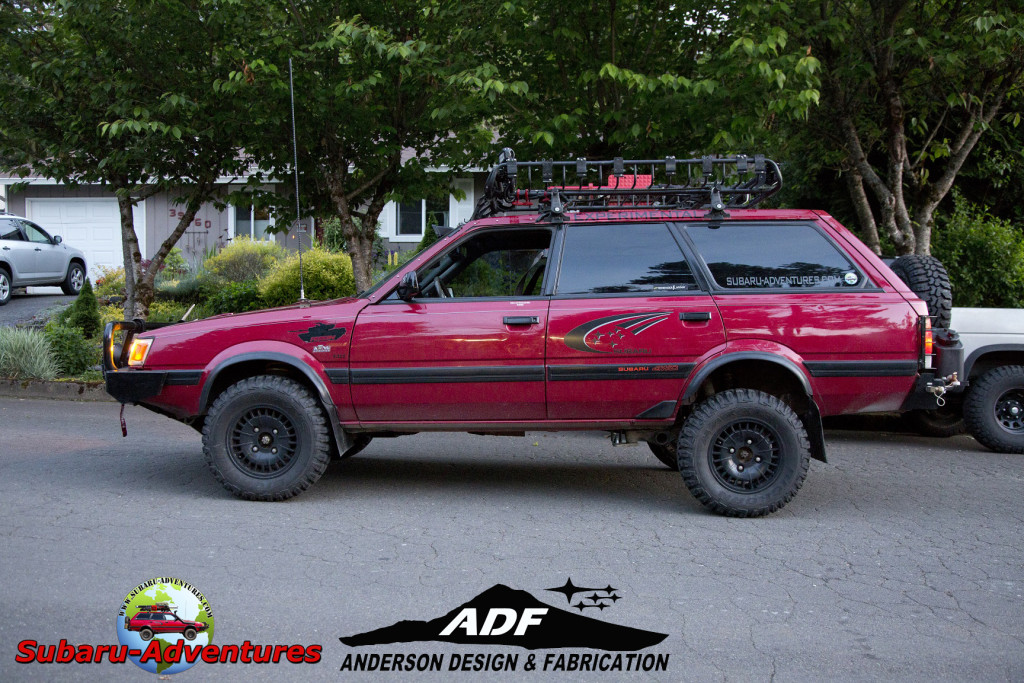
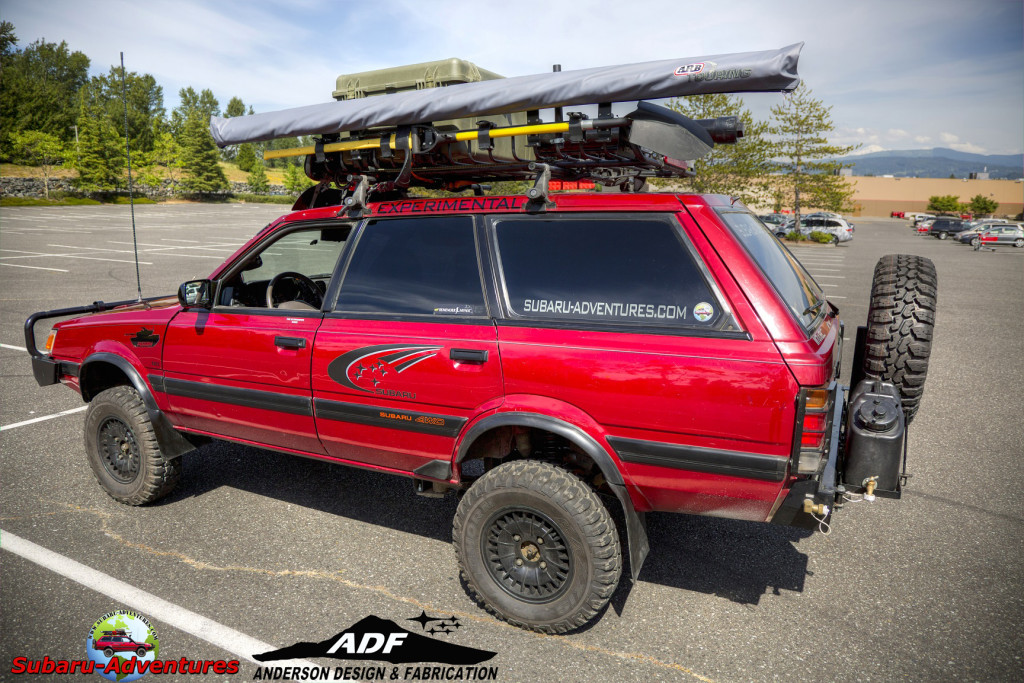
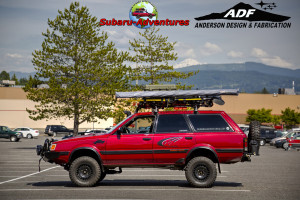 On May 15, 2015, Subaru-Adventures had the opportunity in upgrading the 92’ Subaru Loyale from the 4” Lift Allied Armament lift kit(installed 2006) to an upgraded 6” Lift by Anderson Design & Fabrication based in Sandy, Oregon.
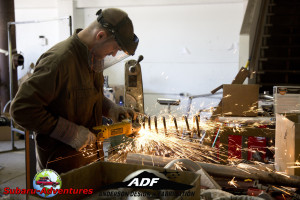
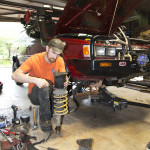
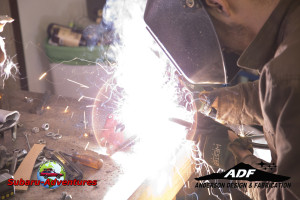
By modifying the vehicles geometry required areas to be fabricated. With only 2 of us, it took a total of two 16 hr days.
Below are areas that required rework:
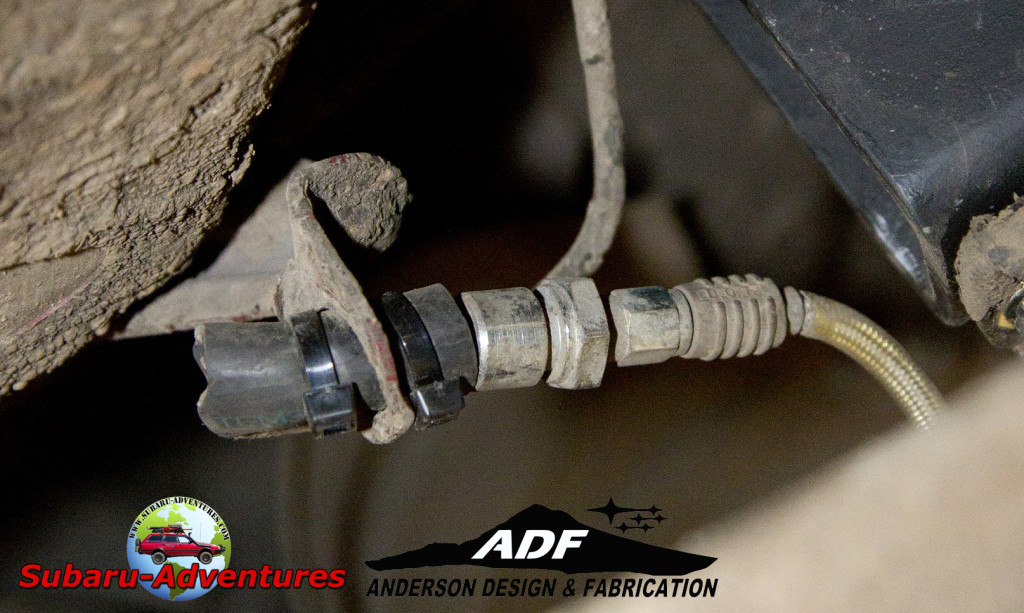
- Rear Brake Lines to be readjusted using sliced hose and 2 each zipties to act as a grommet
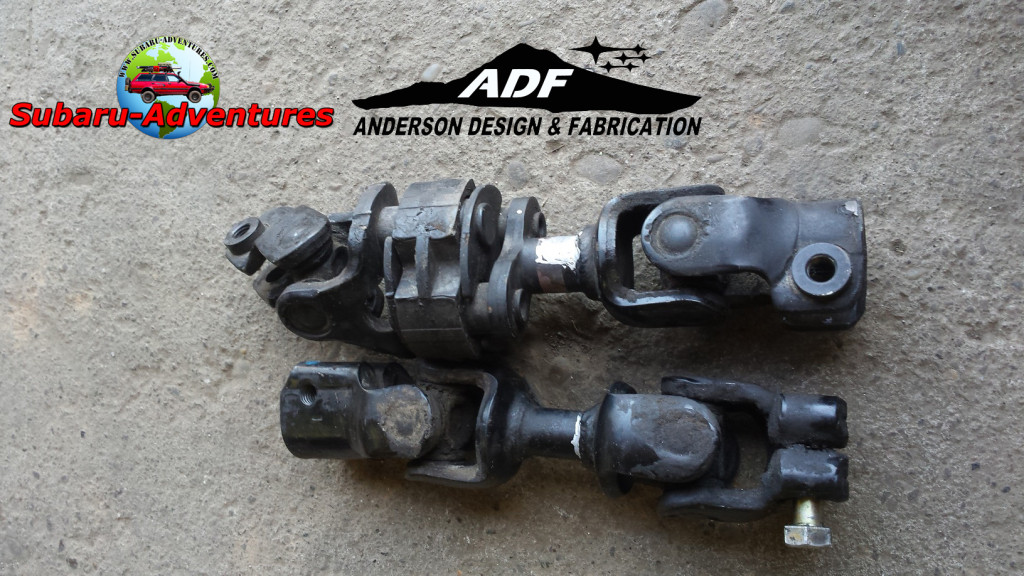
- Power Steering Rack Knuckle to be extended 2” using 98-00 Early Gen Forester Knuckle
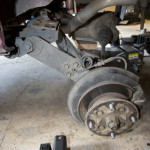
- Rear Differential to be dropped 4”
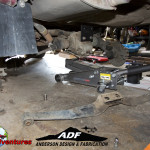
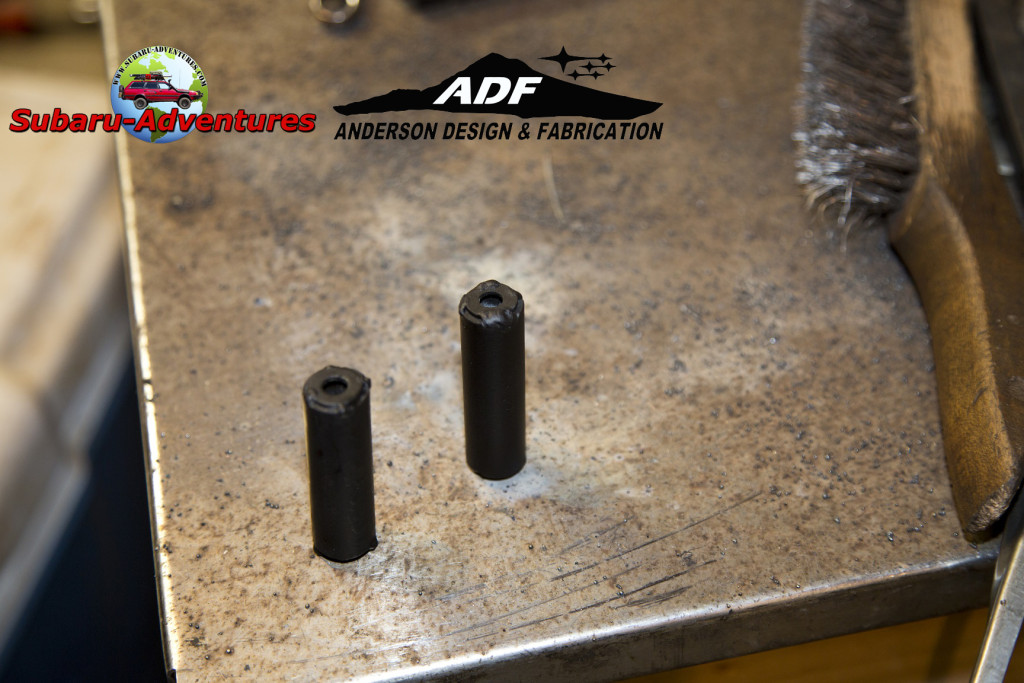
- Fuel Pump Bracket to be lowered 2”using 2″ standoffs with welded nut plates
- Front Skidplate readjustment
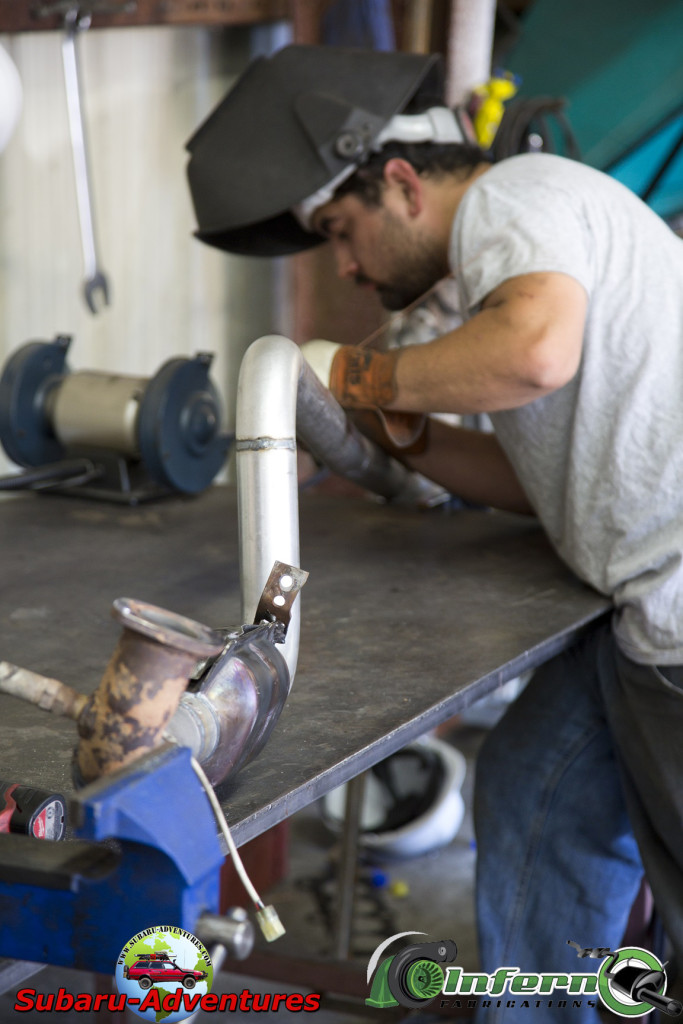
- Exhaust Catalytic Converter to Muffler to be fabricated
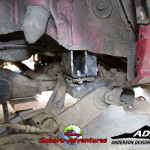
- Center carrier bearing flipped 180 degree and lowered 1”
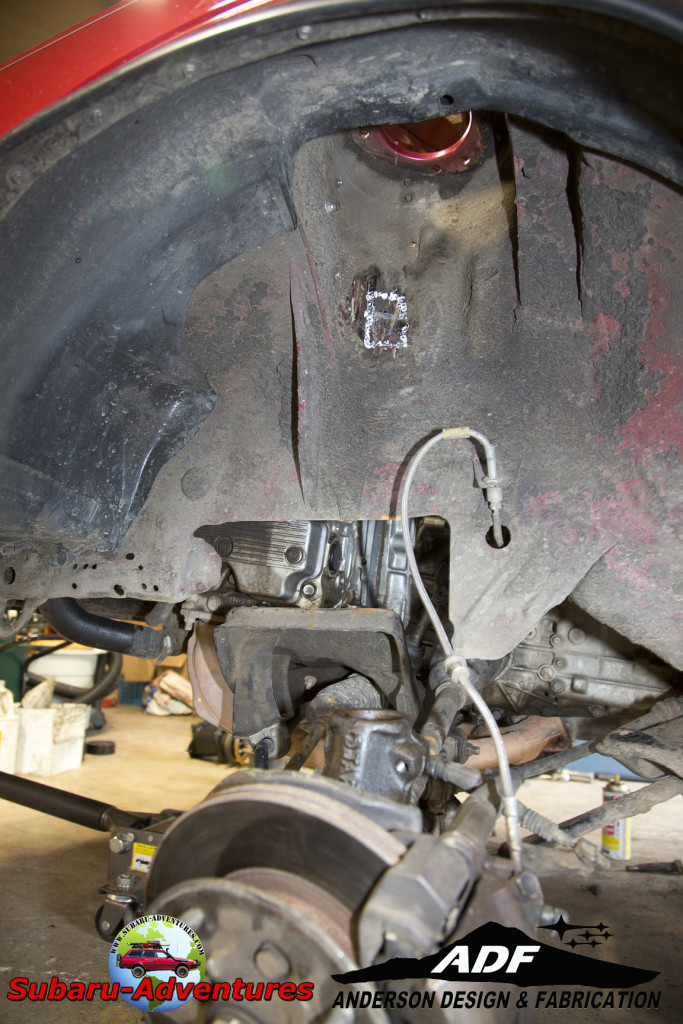
- Front Strut towers to be hammered in a few millimeters to allow for 17 degree strut to be installed without interference
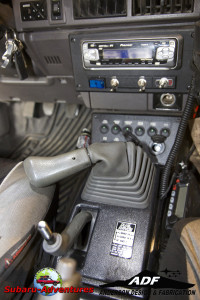
- 5SPD Shifter Extension rod to be lengthened 2-4”
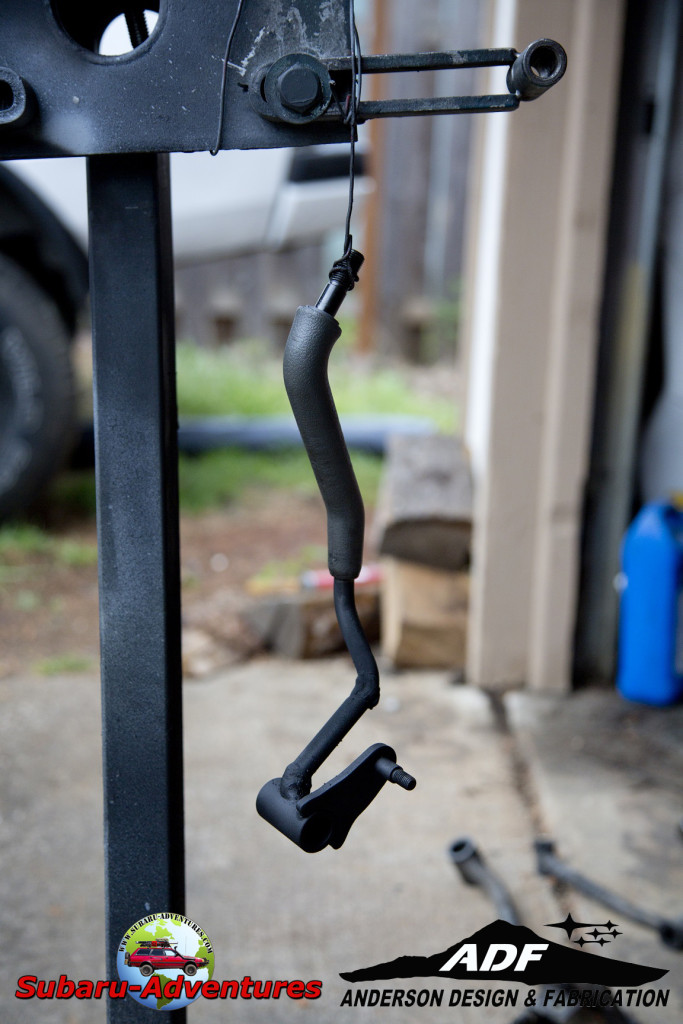
- 4WD Hi/Lo Shifter to be lengthened 2”
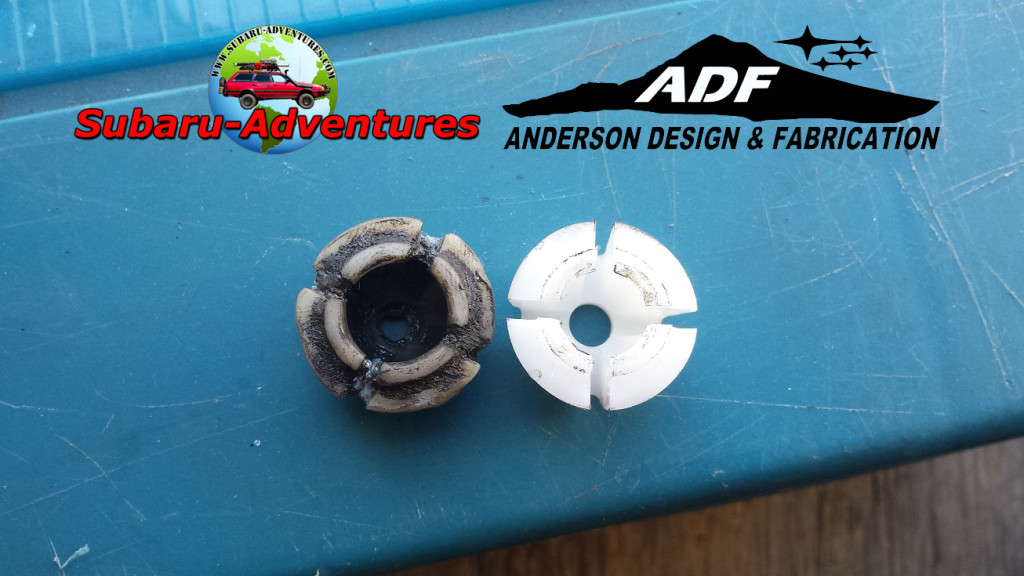
- Shifter Lower bracket to be extended 2” and rubber bushing to be welded solid
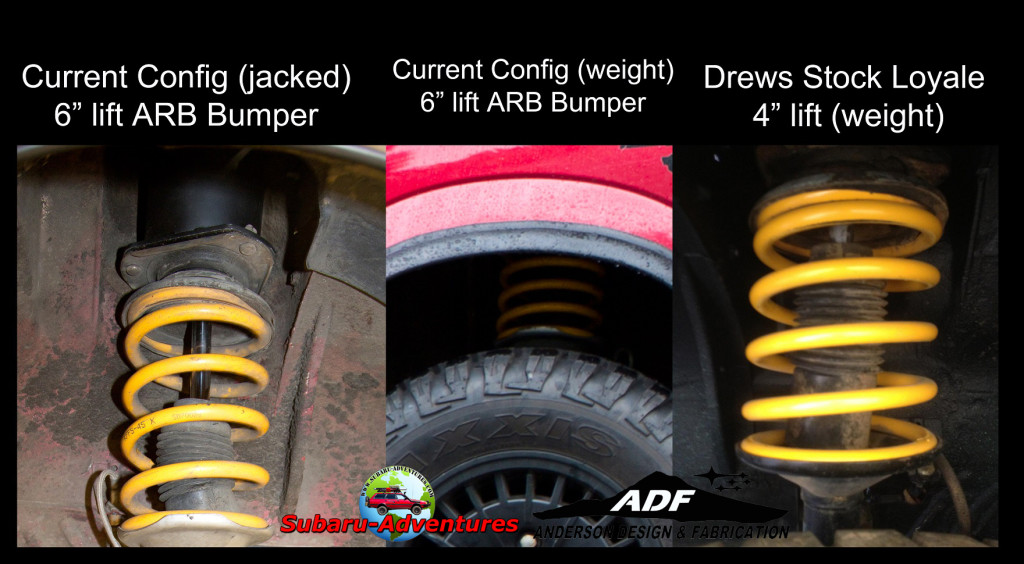
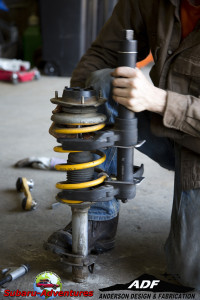
Due to the combination of the extra weight of the ARB Front Bumper, short length of the King Springs, and the 4” Allied Armament strut tops being angled at (14°) vs. new Anderson Fabrications 6″ strut tops (17°), it created a very noticeable negative camber on the front wheels. By speaking with USMB members Jes Zek (Loyale 2.7), and Thomas Draeger (Safari Wagon), and Patrick with ADF, I chose to upgrade to Ford Tempo Springs. The inner diameter of the Ford Tempo Springs are only slight smaller, but will fit the bottom EA82 Lower Strut Seats.
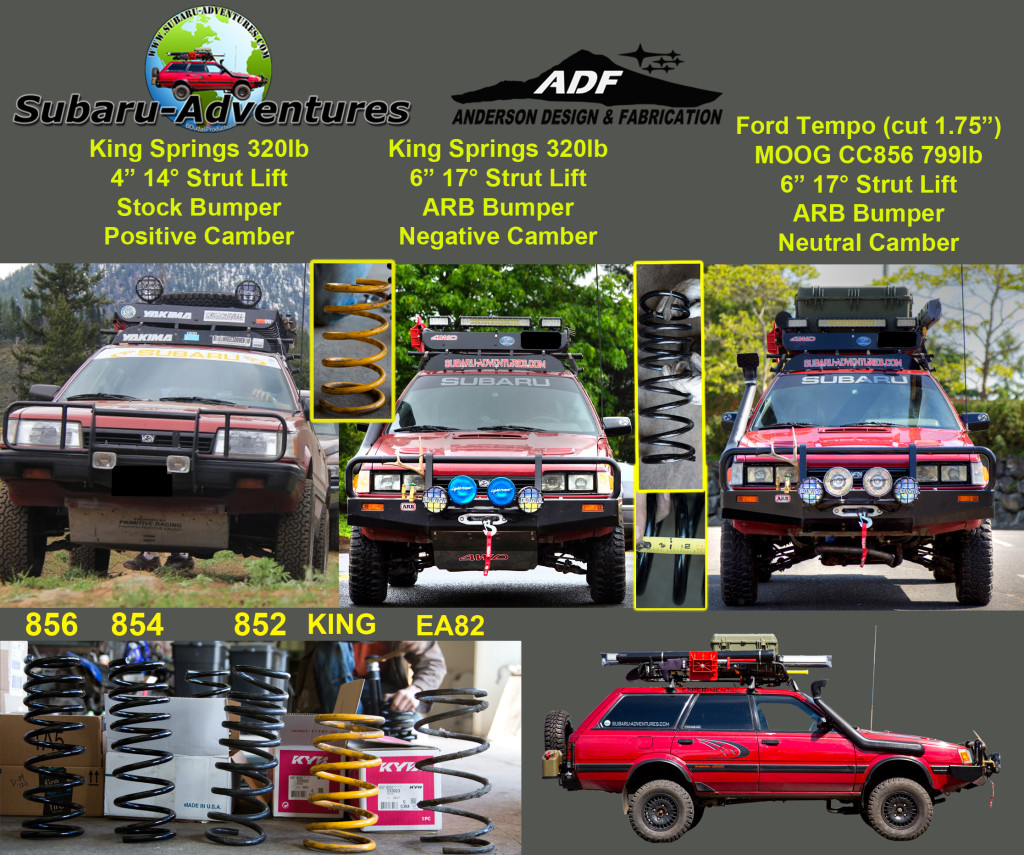 MOOG offers 3 different type spring ratings for the Ford Tempo with V6 Engine and Air Conditioning. The MOOG part numbers and rating are included below:
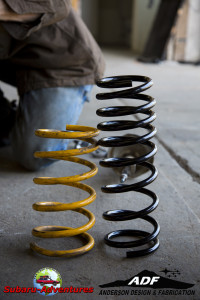
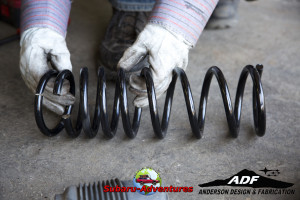
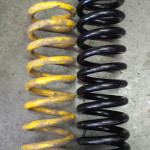
MOOG 856 (799lbs) MOOG 854 (729lbs) MOOG 852 (388lbs) KING SPRING (320lbs) STOCK EA82 (196lbs)
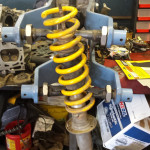
Here is an illustration applying 140lbs of my body weight on each spring to reference the stiffness.
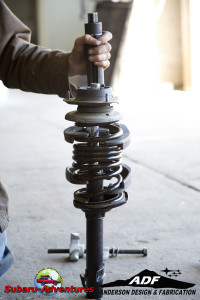
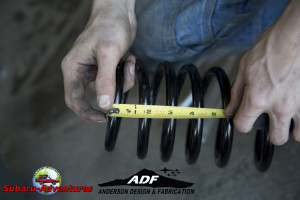
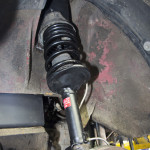
I decided that I use the MOOG 856 (799 lbs) to start off with to see if it would correct the negative camber issue. Because of the longer length, Patrick and I were not able to compress the spring enough to fit onto the strut. Also it would have put too much stress on the strut tops compromising its structure integrity. We had no choice, but to cut the spring 1.75”. After the installation, the negative camber was corrected and there was a noticeable 1″ increase in ground clearance in the front.
I really encourage you to read Jez Zek’s (Loyale 2.7) thread on usmb for more information on the front & rear struts.
And also Tom’s Safari Wagon thread
http://www.ultimatesubaru.org/forum/topic/117164-my-92-loyale-safariwagon/page-26
Below are the Part Numbers for Struts and Spring
Strut Part Numbers:
Front Left: KYB GR-2 233023 (Part Number For 4WD EA82)
Front Right: KYB GR-2 233022 (Part Number For 4WD EA82)
Rear Left/Right: KYB GR-2 341065 (Part Number For 4WD EA82)
Rear Left/Right: (KYB GR-2 341063 (Part Number For 2WD FWD EA82) (They are longer)
Spring Part Numbers:
Front Left/Right: MOOG 856 (Part Number For 89 Ford Tempo
Rear Left/Right: MOOG CC248 (Part Number For ’86-’89 Honda Accord)
Strut Top Hats:
Front: MOOG K9557
Summary of photos for the 6″ Lift
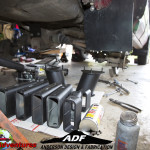
ADF 5″ Body Lift Block Installation:
The Body lift was very straight forward in removing the 3″ blocks and installing the 5″ blocks. Be sure to install bolt heads facing downwards to prevent damage to threads and also apply anti-seize to threads for the future. Using 5″ Subframe spacers and 6″ Strut Top spacers will give maximum angle that CV axles can handle. Anything more, you are compromising its reliability. Because of the stiffer MOOG 856 Springs I am using in the front, I have been able to get more ground clearance, but more angle on axle. This is over 1″ maximum recommend. While driving over 65mph, I am developing a shutter/vibration/shimmy. As long as I’ve been below 65mph the vibration vanishes. I am still troubleshooting this behaviour.
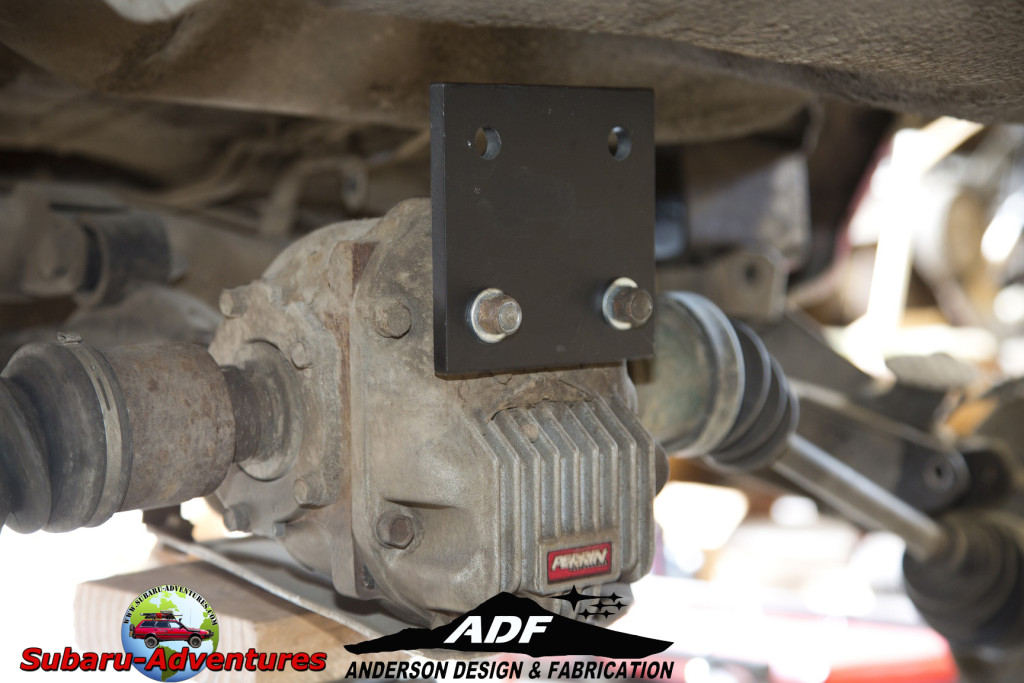
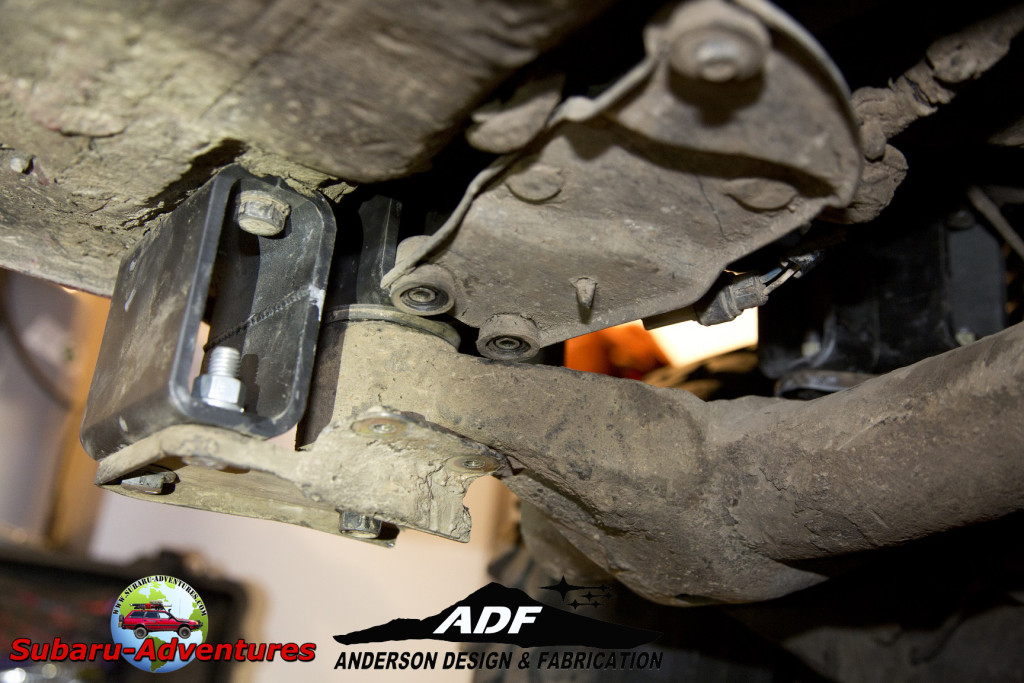
ADF 6″ Rear Differential 3″ Lowering Plate
Because of my previous 4″ Allied Armament Lift Kit, they used 1″ spacers on the Mustache Bar mounts. In this special case, we used a 3″ Lowering Diff Plate opposed to 4″.
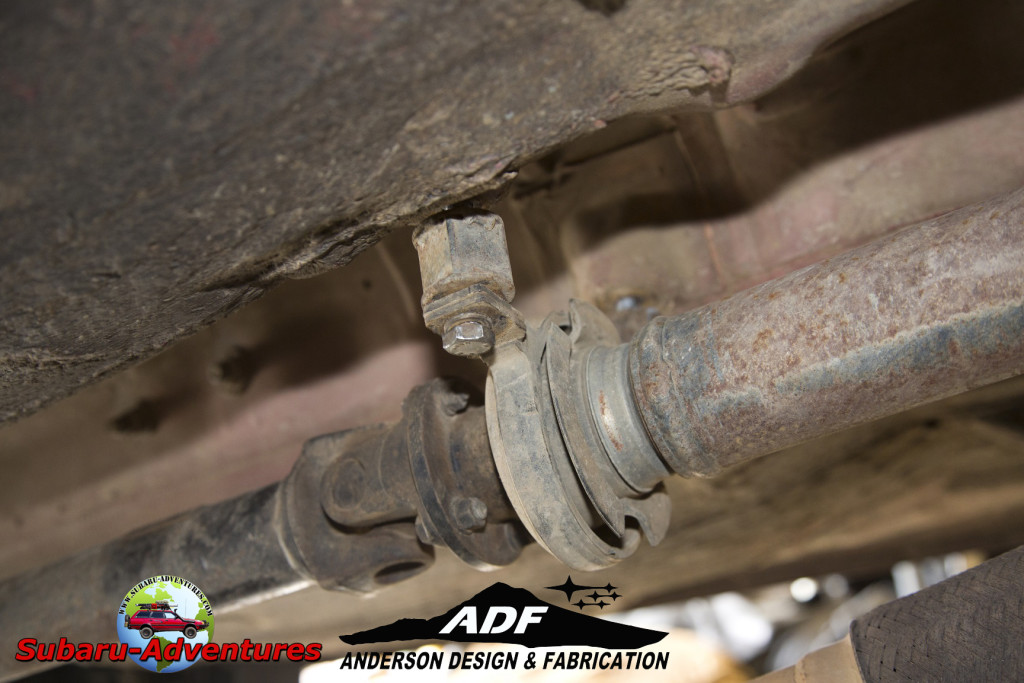
Carrier Bearing Support 1″ Block
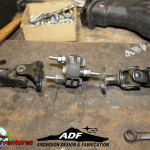
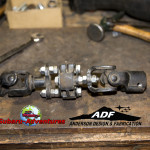
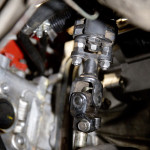
Due to the 5″ body lift, the center drive shaft must be lowered. In this case, turning the carrier bearing support 180º and adding a 1″ spacer to each mount will level the driveshaft inline with the output of the transmission and the input to the rear differential.
Front King Spring to Ford Tempo MOOG 856 Upgrade
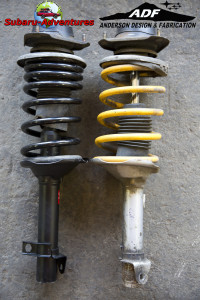
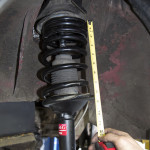
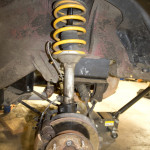
Due to the extra weight the ARB created, you are able to clearly see the compression on the King Spring created. Our friend Drew Mishler was kind enough to share a picture of his King Spring Compression on his EJ22 swapped wagon with stock front bumper. BIG DIFFERENCE!
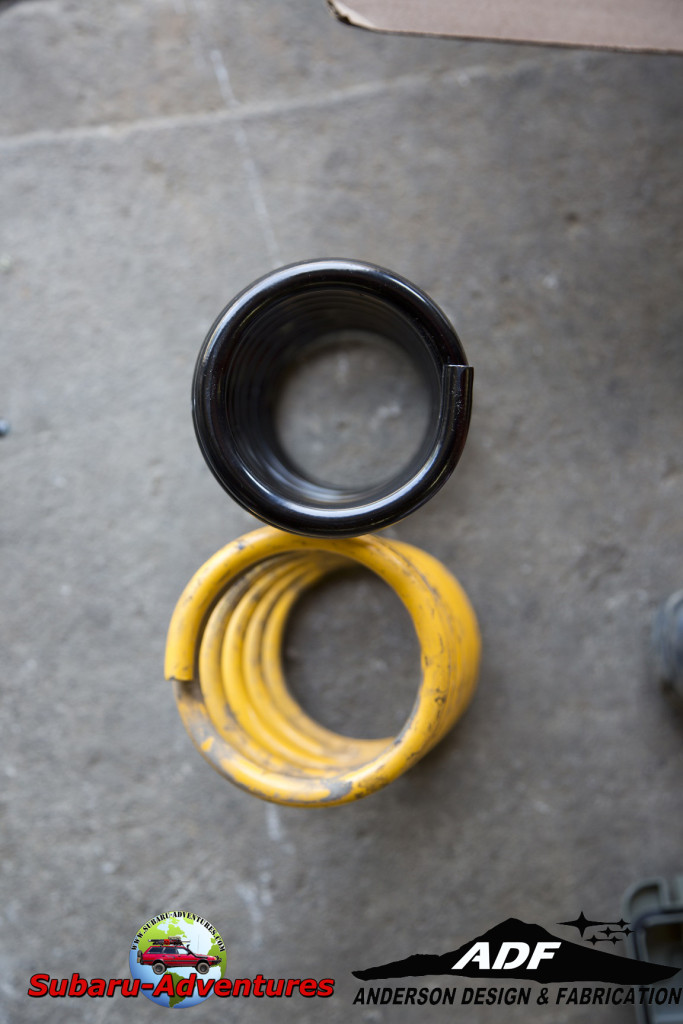
Below you are able to see the slight difference in diameter of the MOOG 856 vs. King Springs. However the MOOG 856 will fit ideally on the lower seat of the strut.
ADF 6″ Strut Tops
Installing these are fairly straight forward, however it will only fit one way. ADF has indexed which stud to align on the strut tower. You may also be required to use a hammer and push the inner wall to prevent the 6″ Strut Spacer from interfering. There was more dimpling required on the left side vs. the right side.
Rear Spring & Strut Upgrade
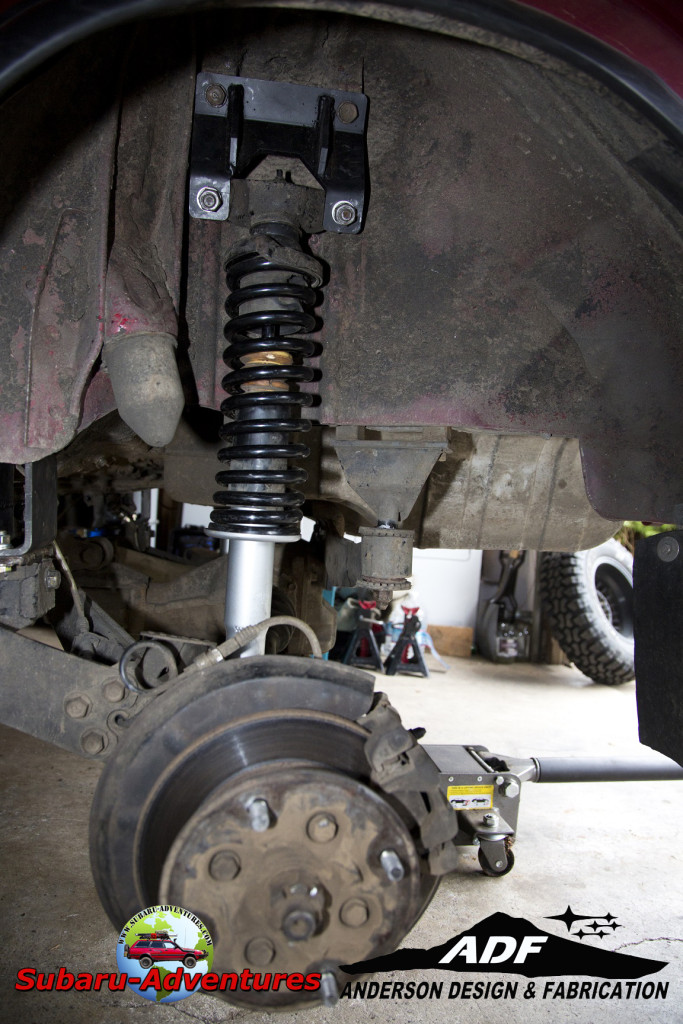
Because of the additional weight required for long trips, Jes Zek and Thomas had given advice on upgrading the rear springs with MOOG CC248 ’86-’89 Honda Accord Springs. The spring rating and diameter were nearly the same and for 1/4 of cost to King Springs. We were very impressed with the durability. Not only was it built the same, but the length was slighter taller giving the ability in carrying more weight and raising the vehicles ground clearance.
Not only did the legendary Jes Zek think of using Honda Accord springs, but using the rear struts from the Front Wheel Drive EA82 model in giving more ground clearance. We love you! To visit Jes Zek’s builds and other clever ingenuity, please visit his build thread here:
http://www.ultimatesubaru.org/forum/topic/122276-the-bumble-beast/
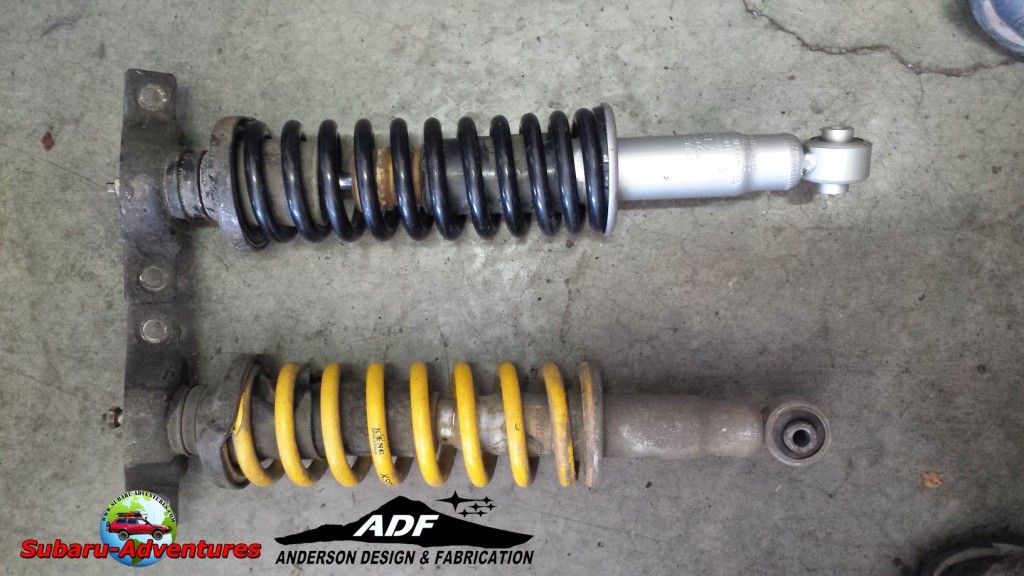
Below you are able to see the difference in the 4WD Struts vs the FWD EA82 Struts (KYB GR-2 341063)
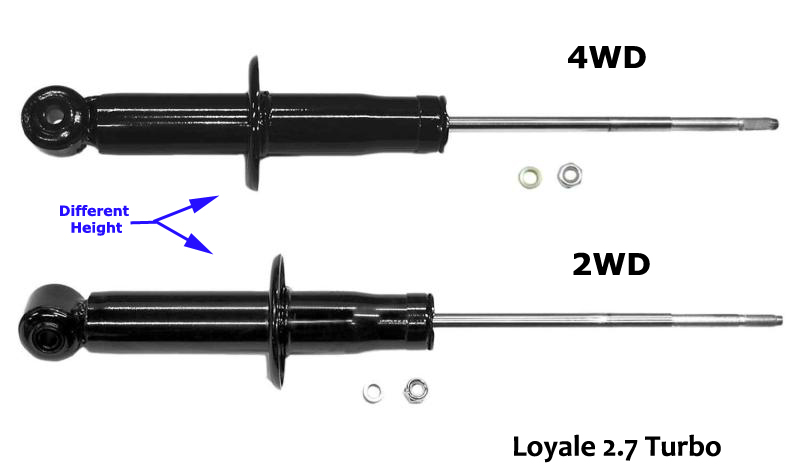 And here with the King Springs on 4WD Struts vs Honda Accord Springs on the FWD Struts
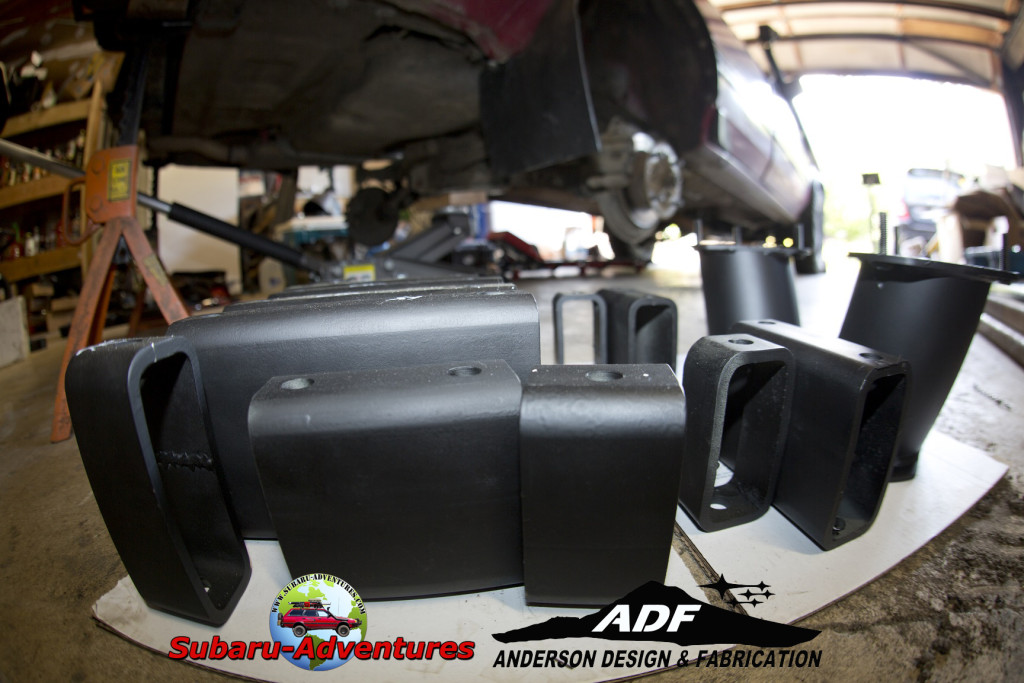
ADF 6″ Rear Strut Brackets
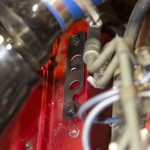
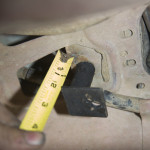
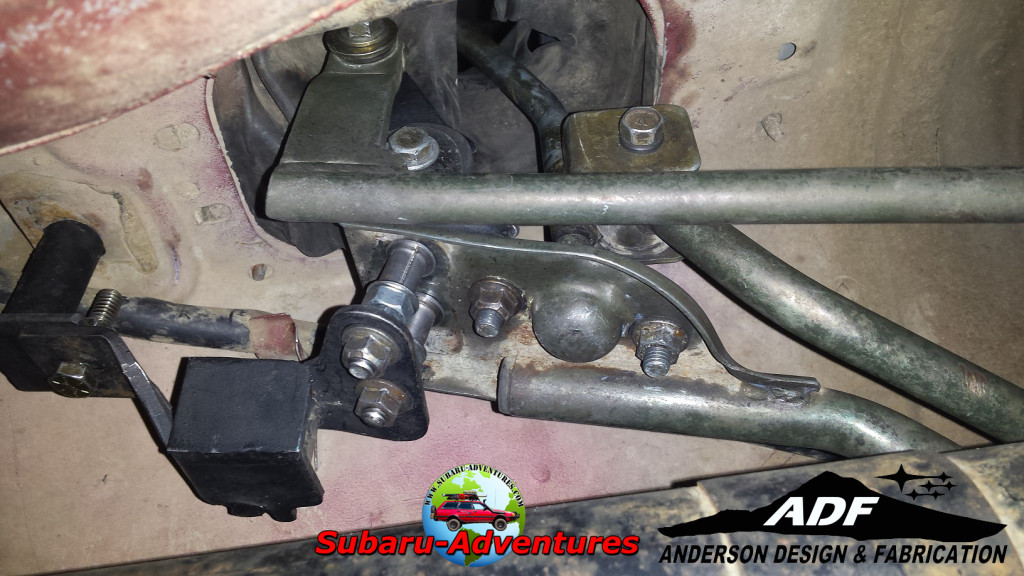
Shifter Assembly Lower Bracket Modification
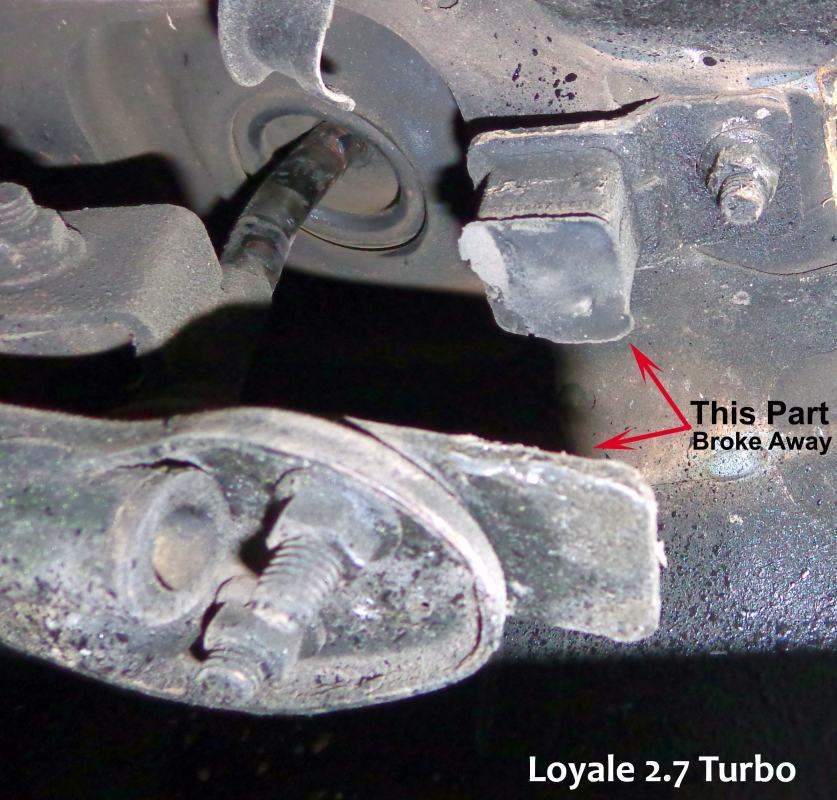
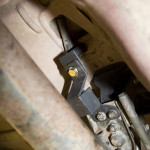
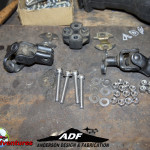
Due to the geometry in lifting a vehicle, the shifting linkage will always be the most challenging in shimming to create the proper lengths, angles, and “magic”. Some lengths and angles will affect other problems so this took the most time for us. Hopefully others will not have to struggle as much, but give this a guideline in saving steps. The first part to achieve is welding an enclosure around the bushing to prevent it from ripping in the future. This gives it extra rigidity to prevent from failing when you are on a mountain top.
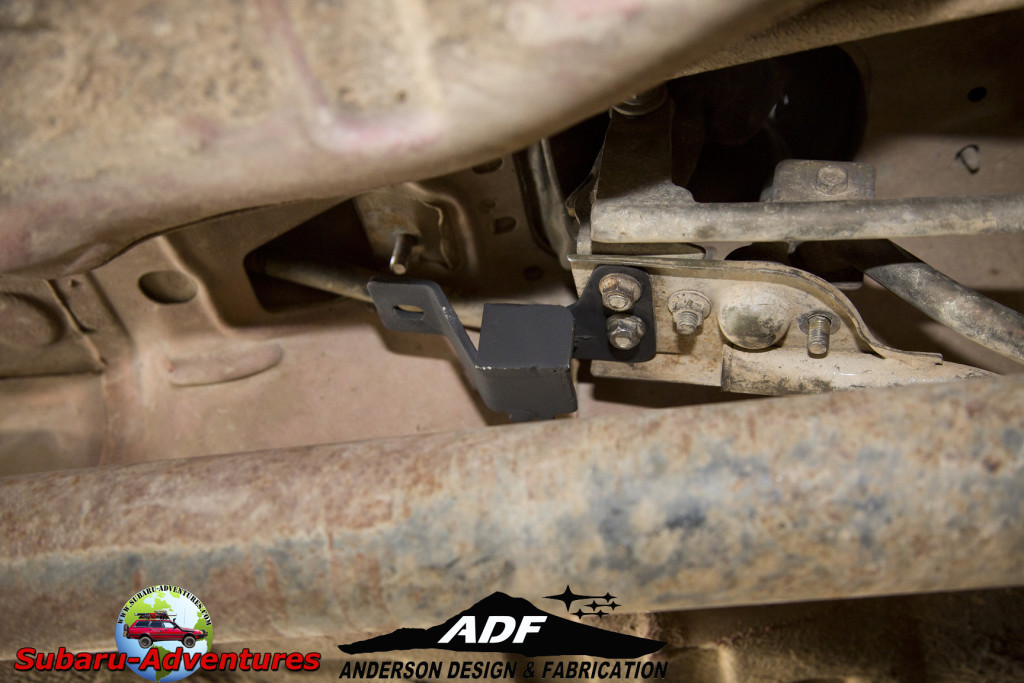
The second step is fabricating a 2″ stand off with a welded nut to attach to the upper stud and welding a flat piece of metal to attach the welded enclosed bushing that will attach to the main linkage to your shifters.
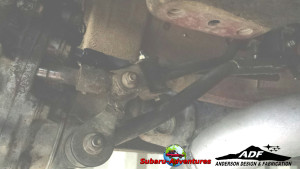 Note: Be sure that the bolt head is facing up on the picture to the left. If not, it will interfere and the shifter will not stay in 4th gear.
Here is how the shifter linkage should look when it is properly shimmed with spacers.
I would encourage to use new plastic ball socket & rubber boot since it will pop out if it is worn as it was happening to me.
5 Speed Shifter Linkage Extension
Simply weld 2-3″ more inches to the shifter rod. We had a spare shifter rod to prevent from having to drill a hole for the locking pin.
4 Wheel Drive “Phantom Grip” Hi-Low Range Selector Shifter Extension
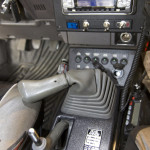
This was the most complex since it required to weld the extension on an angle as well as having it from interfering with the 5 Speed Shifter. After multiple readjustments including reheating and bending the metal and using a dremel tool to remove material from the console; it was able to fit.
Steering Knuckle Extension
The Loyale’s 4″ Allied Armament Lift had already an Early Gen Forester Steering Knuckle, which extended enough for the 4″ lift. Using the 98-00 (perhaps 01′-02′ may work) early Gen Forester Knuckle will allow you in grinding the rivets off to allow to extend the knuckle 2″.
Below is a picture comparison of the 98-00 Forester Knuckle (top) and the stock EA82 (bottom)
Fuel Pump Bracket Extension
Simply find some stand offs and weld nuts to the end.
Rear Brake Line Grommet
Simply find a piece of rubber hose. Cut a slit and install where the rigid hardline will be chafing and install 2 each zip ties.
Exhaust Fabrication
By Inferno Fabrications – St. Helen’s, Washington State
This concludes it for the 6″ Lift. I hope this has helped anyone attempting this task. It may be intimidating, but never give up!
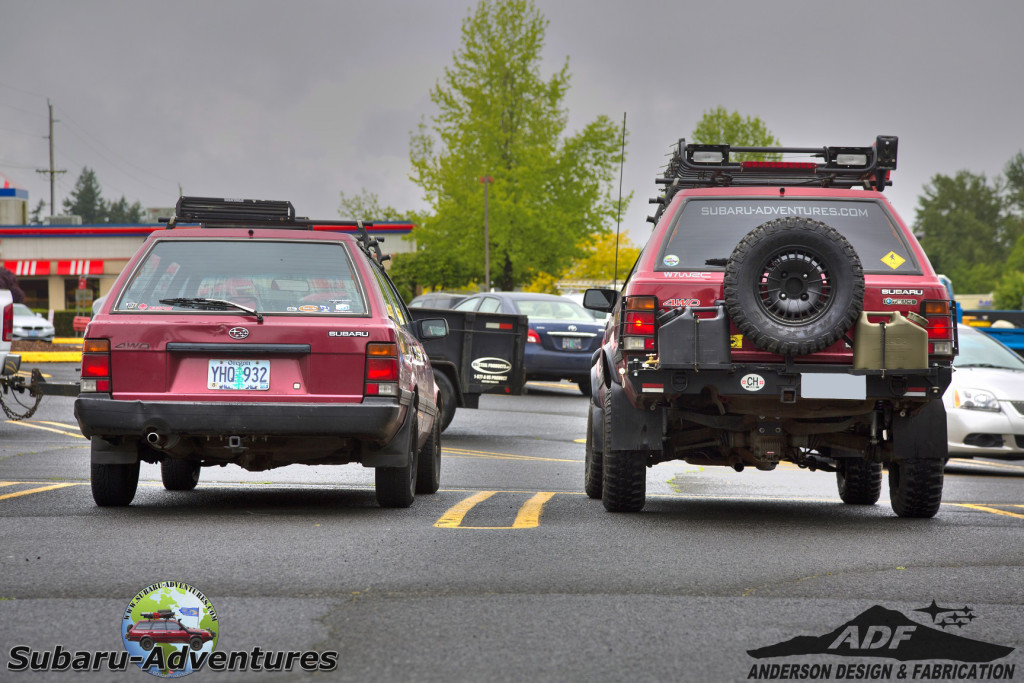
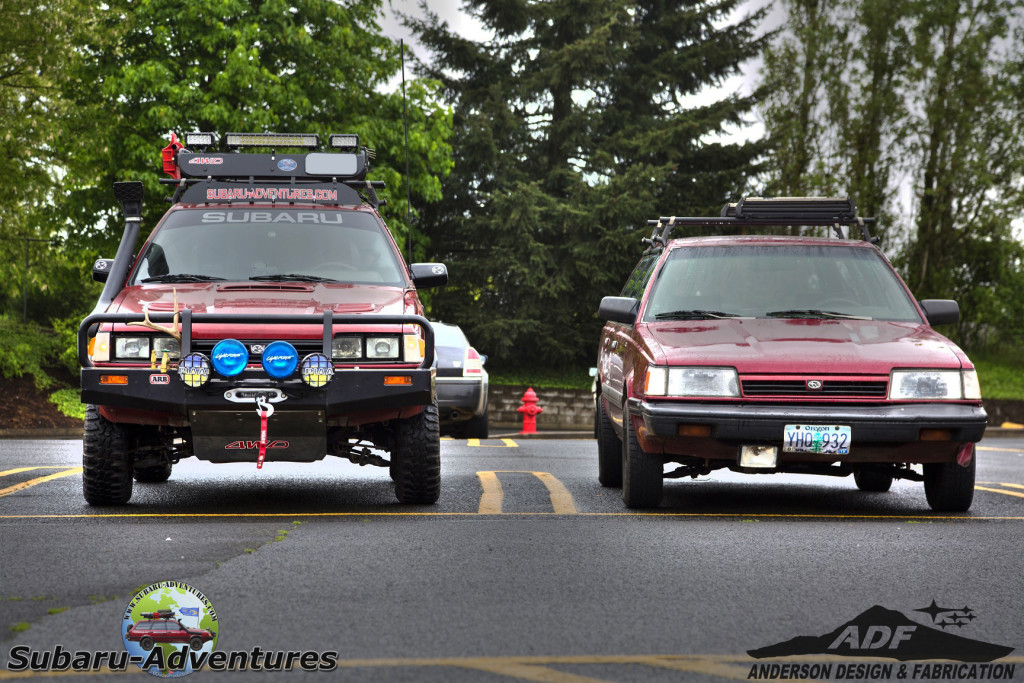
Here is a picture with the 6″ Lift Installed in Rear and 4″ Lift in Front
Many have been involved with this project including members of the USMB, AUSUBARU.COM, Chris Miller, Gregg Huld, Patrick Anderson, Inferno Fabrications, HTi Fabrication, Stephen Phillips Autobody, Perrin Performance, Mountain Tech Inc. Get-Primitive, Dewey Griffin Subaru Dealership, Jes Zek (Honduran Subaru Nut How-To Manual Writeup Author), Thomas Draeger (Safari Wagon), Michael Smith, Guyph from Perth (AUSubaru.com) , Rita & Fred (Tint Lady), GaugePlates.com.
Sometimes it takes a worldwide community to help build one of the most functional Subarus in the World. ‘
Thanks everyone,
Bryan
